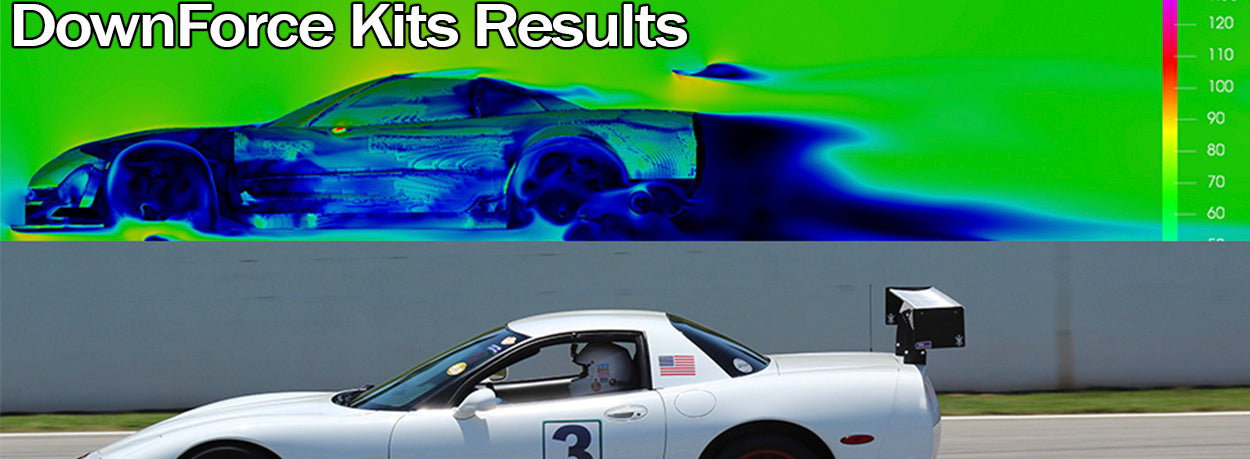
CFD testing
Drag to Horsepower Calculator


Downforce kits! - Miata Medium Downforce Kit
Downforce packages start off with an unmodified car with a hard top installed (other top options aren't particularly aero-friendly). We give it to Morlind Engineering to work their black magic. Below, each run is broken down into notes from the engineer, translated into layman's terms (what it means to a driver). We’re not trying to hide anything, so we give you the good AND the bad.

Baseline- Stock body/stock height.
Engineer’s Notes- The stock body has a large amount of drag; the drag levels were larger than bigger cars we've tested. The body did make lift (the opposite of downforce) and most of that lift was generated in the rear.
Translation- This car will take some real horsepower to get any kind of top speed. The amount of total drag was more than a C5 corvette.
The Good: Relative to other cars on the market, lift is pretty low
The Bad: REALLY draggy.
Baseline- Lowered 2”
Engineer’s Notes- Car was lowered 2”. This did help reduce drag 6%, but it also increased the body lift 36%.
Translation- Lowering did reduce some of the extreme drag, but it sent more air over the top of the car, making a ton of lift. This car will start to feel very light at a relatively low speed (as low as 70mph).
The Good: Reduced drag
The Bad: Shockingly increased the aerodynamic lift
We did some development work, and this is what we found:

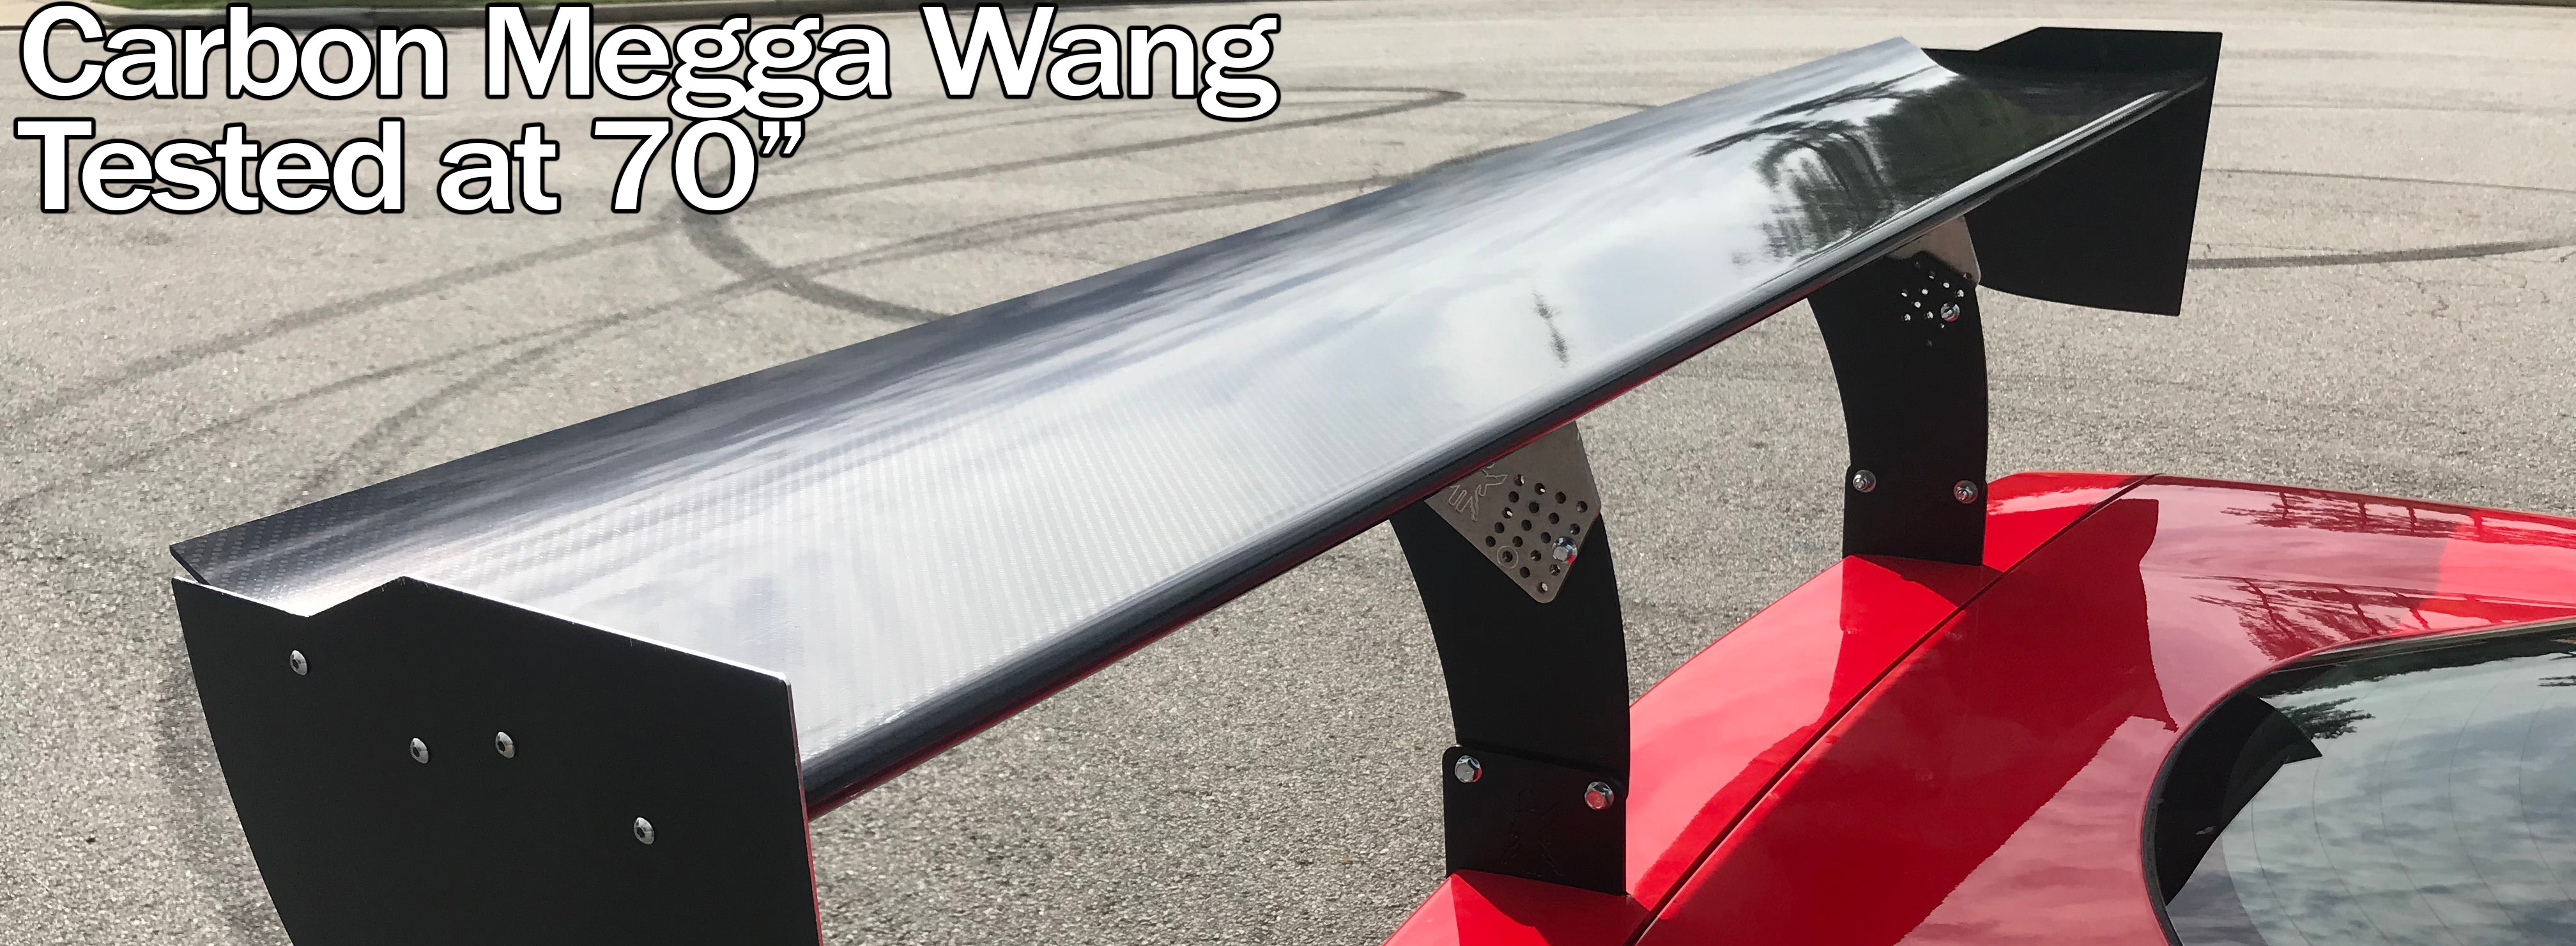
Medium Downforce Kit Wing at 2° + Splitter + Air Dam
Engineer’s Notes- We sized the splitter, added an air dam and added a 64” wing. The shocking thing we noticed was the Miata body really likes to make front downforce. That part was easy. We were able to achieve 69% aero balance without the need for any additional parts (splitter ramps, ect.) The wing netted very close to its open air CFD numbers, going higher wouldn’t help. In fact, mounting it a little more rearward would help the balance and keep it low drag. The drag numbers stayed very close (within 0.5% variance) to stock.
Translation- A normal driver (as opposed to a Pro) will feel a 7% change in the car. We’ve got this thing hunkered down. They will notice significantly higher grip and we’ve had reports of an average lap time improvement of 3 seconds.
The Good: We picked up 253% more downforce while only gaining .5% drag
The Bad: The balance could be better

Medium Downforce Kit Wing at 5° + Splitter + Air Dam
Engineer’s Notes- Looking to improve on the Medium Downforce kit, we increased the wing angle until it started to stall. We found the limit at 5° with the wing alone. That’s the issue with using a high lift-to-drag wing: they stall easier. Also, testing the car with a soft top didn’t help. If you’re trying to go any more aggressive, a gurney flap and a hard top are recommended. Using them, were able to gain back our aero balance. Ideally, downforce balance should be within 10% of body weight balance, and this did it. It also netted more downforce and increased the cars overall lift to drag.
Translation- We reached our downforce balance goal of +/- 10% of the chassis weight balance. When that balance is matched, the car will handle the same at slow speeds and high speeds. It means your handling won’t “switch” as you cross the 70 to 80 mph mark. This makes tuning suspension easier and it makes driving easier.
The Good: Gained 265% more downforce over the base and brought the balance into spec
The Bad: The wing began to stall at 5°
TL;DR: Downforce Kit dramatically increases downforce (duh) while maintaining front-to-rear balance.