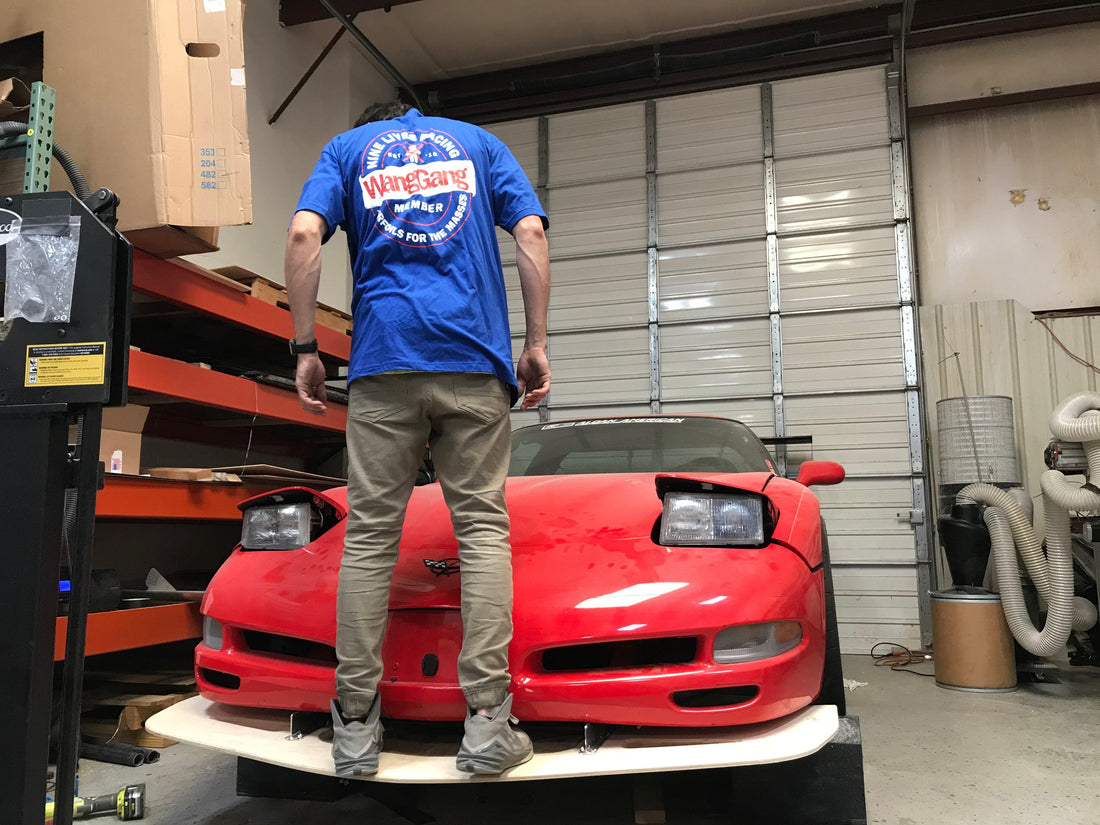
Installation of this kit: C5 Corvette Rocket Nose splitter and Sturdy Bois
First off sorry, This isn't our comprehensive Install, it's more of temporary install instructions. If anyone wants to make a video or instructions we have free swag with your name on it.
So lets hit on the high points of how to install these guys.
1. Pull your bumper. You really do need to remove it.
2. Remove the bracket that your bumper sits/clips into atop of steel bumper.
3. Cut out your drill template

4.Grab your .33" Drill bit
5. Place your drill template atop of your bumper and force it into the leading edge of your bumper

6. Mark the holes and drill holes for rivnuts .33" drill bit

7. Install all 8 rivnuts.

8. Attach Sturdy Boii to a splitter with (12) 1/4-20 bolts

9. Attach Sturdy Boii with the splitter to the car using (8) 1/4-20 bolts

10. Note! Holes are slotted. The lowest setting is where we set the splitter for max cooling, and to run our CFD. The splitter can be slid upwards in the slots and tightened to accommodate lowered vehicle height.

11. Locate L & R side supports.

12. Install side supports to lower headlight bracket and splitter NOTE Tabs will face the leading edge of the splitter as seen here.

13. Reinstall all OEM components.

14. Stand on the thing, take a picture, and post to Instagram, tag us #NinelivesRacing
Final step - Win race.


